My boys are currently Lego crazy! (Well, actually, so is my girl.) The little bricks are taking over our house! But, despite the occasional middle of the night lego land minds, I will gladly put up with the mess for the hours of creative, screen-free entertainment they provide!
So, when I saw this little white table at a garage sale for $5, I immediately thought, "Lego Table!"
The table itself is from Ikea - and currently listed for $39.99. A garage sale steal, I think.
The most expensive part of the supplies were the lego plates. Turns out that there is no cheap way to find them. They seem to be the same on eBay, amazon and completely missing from garage sales and Craigslists. Popular. All in all $25 for lego plates is a small price to pay for hours of entertainment (and a little more organization).

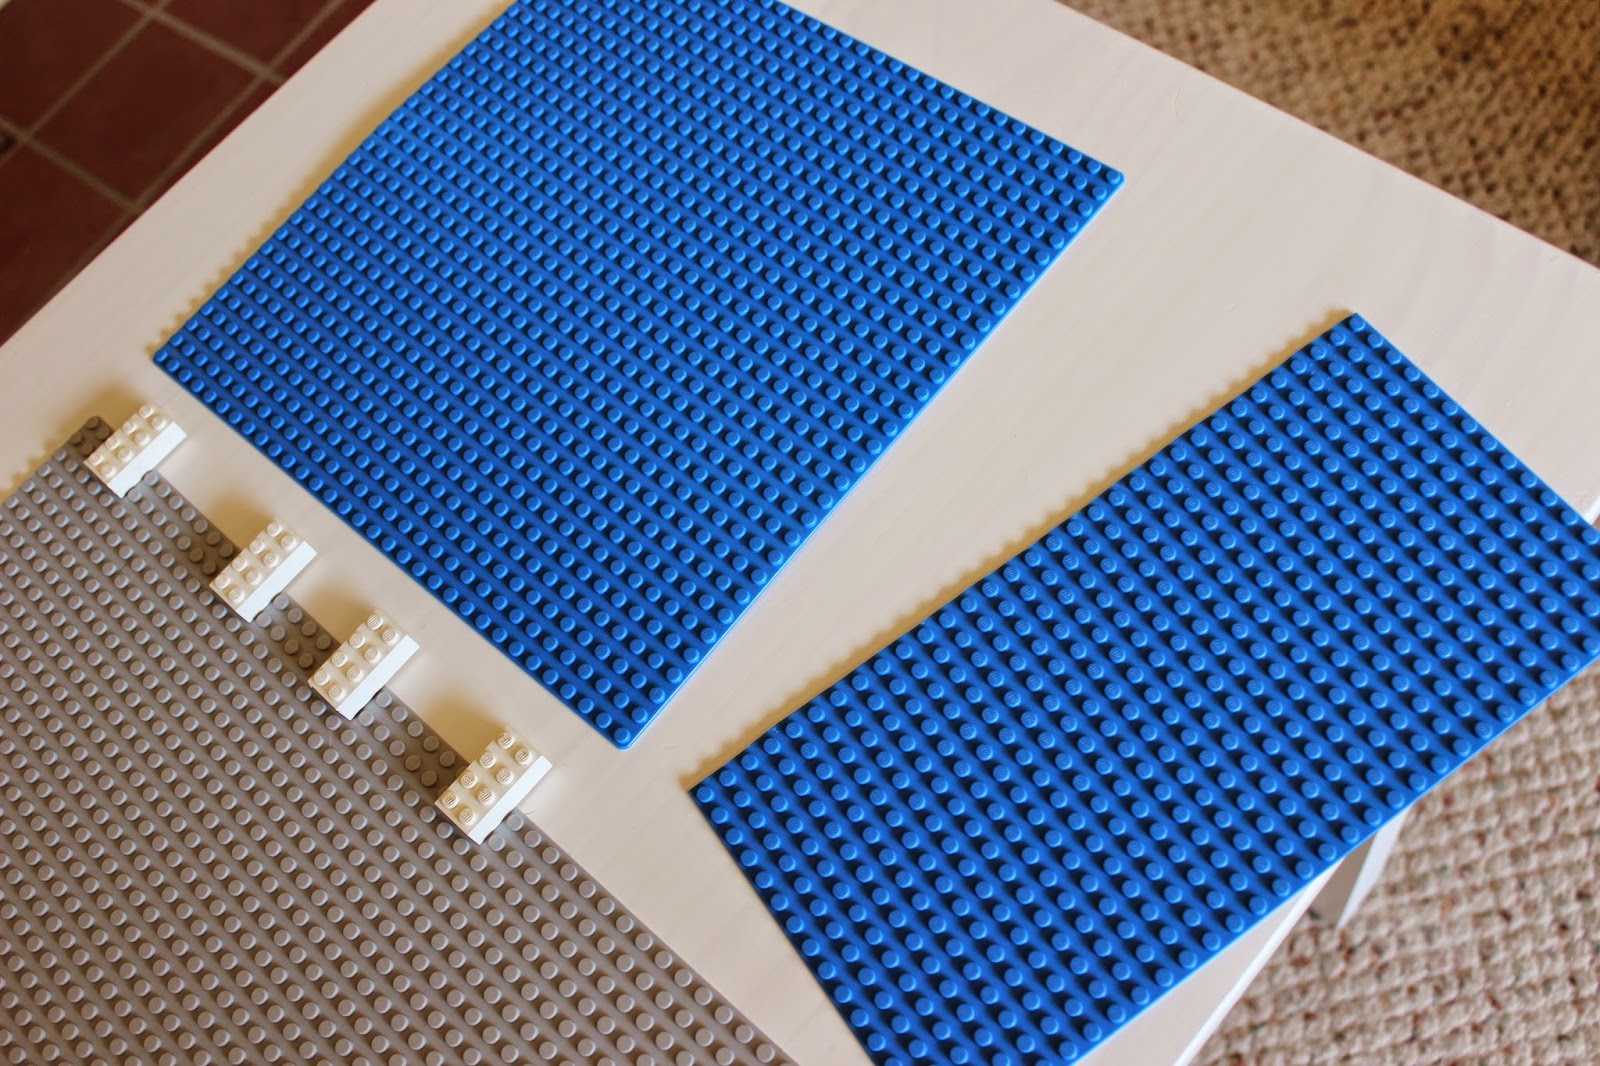
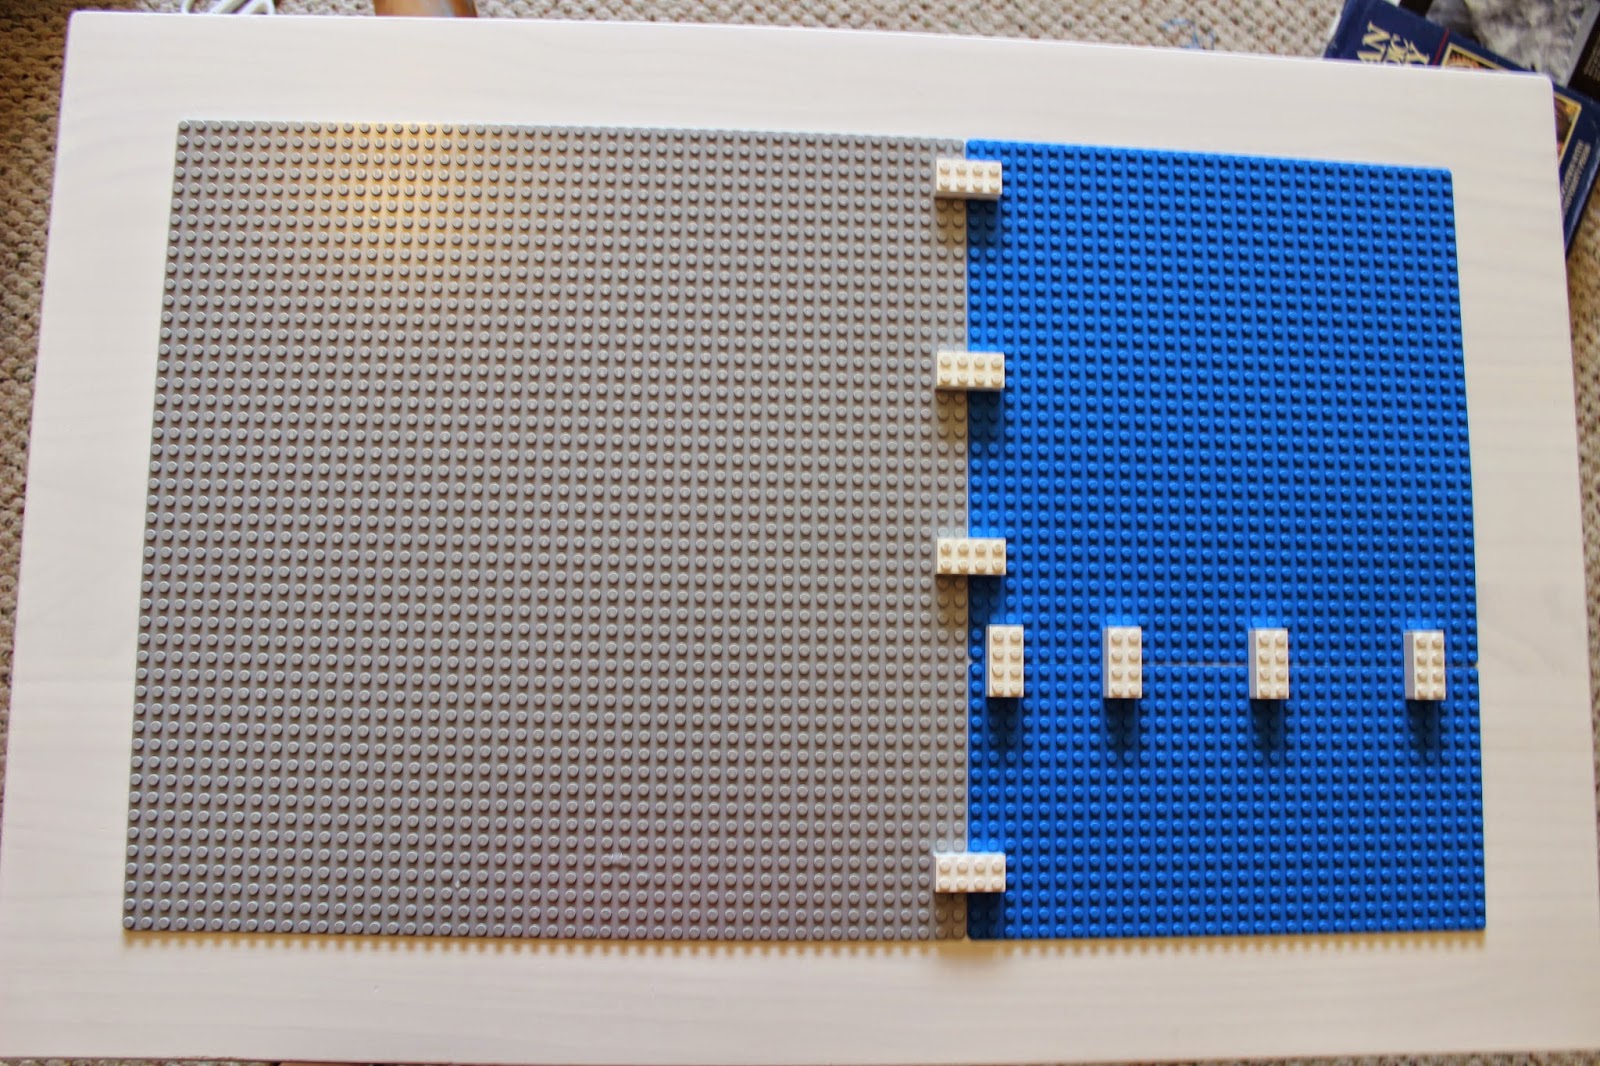
I bought one 15 x 15 grey plate and two 10 x 10 blue plates to make up the "water" side of the table. On the advice of the girl at the lego store I just cute one 10 x 10 plate in half with scissors. Turns out it's really easy.
I left a lot of allowance while cutting and used the white bricks you see above to test and make sure the edge was trimmed and fit together properly. I also used regular sand paper to smooth out the edges and corners.
Using the legos to hold the plates together is also an important trick to make sure all the plates line up and hold together while glueing - DO NOT FORGET THIS STEP!
To get started with the gluing, I thoroughly cleaned the table to ensure a good surface for glue adherence.

I used Gorilla Glue to hold my plates down mainly because we already had some in the garage, but you could probably construction adhesive from the hardware store or any number of other really strong glue products. I started by wetting the area in which I was planning to apply the glue per the instructions.
I had heard that Gorilla Glue really spread out as it dries and if you are not careful you will get a lot of over drip, so I started my glue pattern about 2 inches from the edge of the plates. This was actually a little too far from the edge as they ended having gaps and being really easy to pull off. So, I ended up re-gluing them with the glue only about 3/4 of an inch from the edge and putting larger dollops of glue in the corners and middle.
The glue bottle says to clamp down the objects, but unfortunately the lip of the table wouldn't allow for clamping so I had to improvise...
I let this all dry for a couple hours and now it feels like there's no way those plates are going anywhere!
Finally, I wanted to give the kids somewhere to put the legos that they would be working with to build things.
I came up with the idea of a little side container and found this little drawer organizer that's about 2 inches deep with a lip around the top edge for about $2 at Target. The lip is really important because it allows the organizer to rest on the table so there is not so much pressure on the screws (which I think would just break the whole thing really quickly).
I measured out and found the center of the table and the container and drilled a small pilot hole. Then I again laid down a bead of glue to give it extra strength and support. Next, using a 3/4 inch washer to give the screwhead extra support, I screwed in the middle screw.
Last, I measured and drilled two more pilot holes equidistant from the center and screwed the screws with washers tightly in as well.
This all took about an hour over the course of an evening and the next morning and has already provided hours of entertainment.
I don't really think it has done anything to control the lego mess, but oh well, still well worth the effort!


I love this! I'm inspired to make it for my kids!! Thanks for sharing!
ReplyDeleteAmazing work on the writer's part and This blog has a positive and excited outcome.custom lego tables
ReplyDelete