Thursday, January 30, 2014

The Piano Bench

I intended to share this a lot sooner.  It seemed completely reasonable that I would create a new blog post on my iPad while on a week long girls' trip to Florida.  I mean, of course I would have extra time while sitting around in the sun...

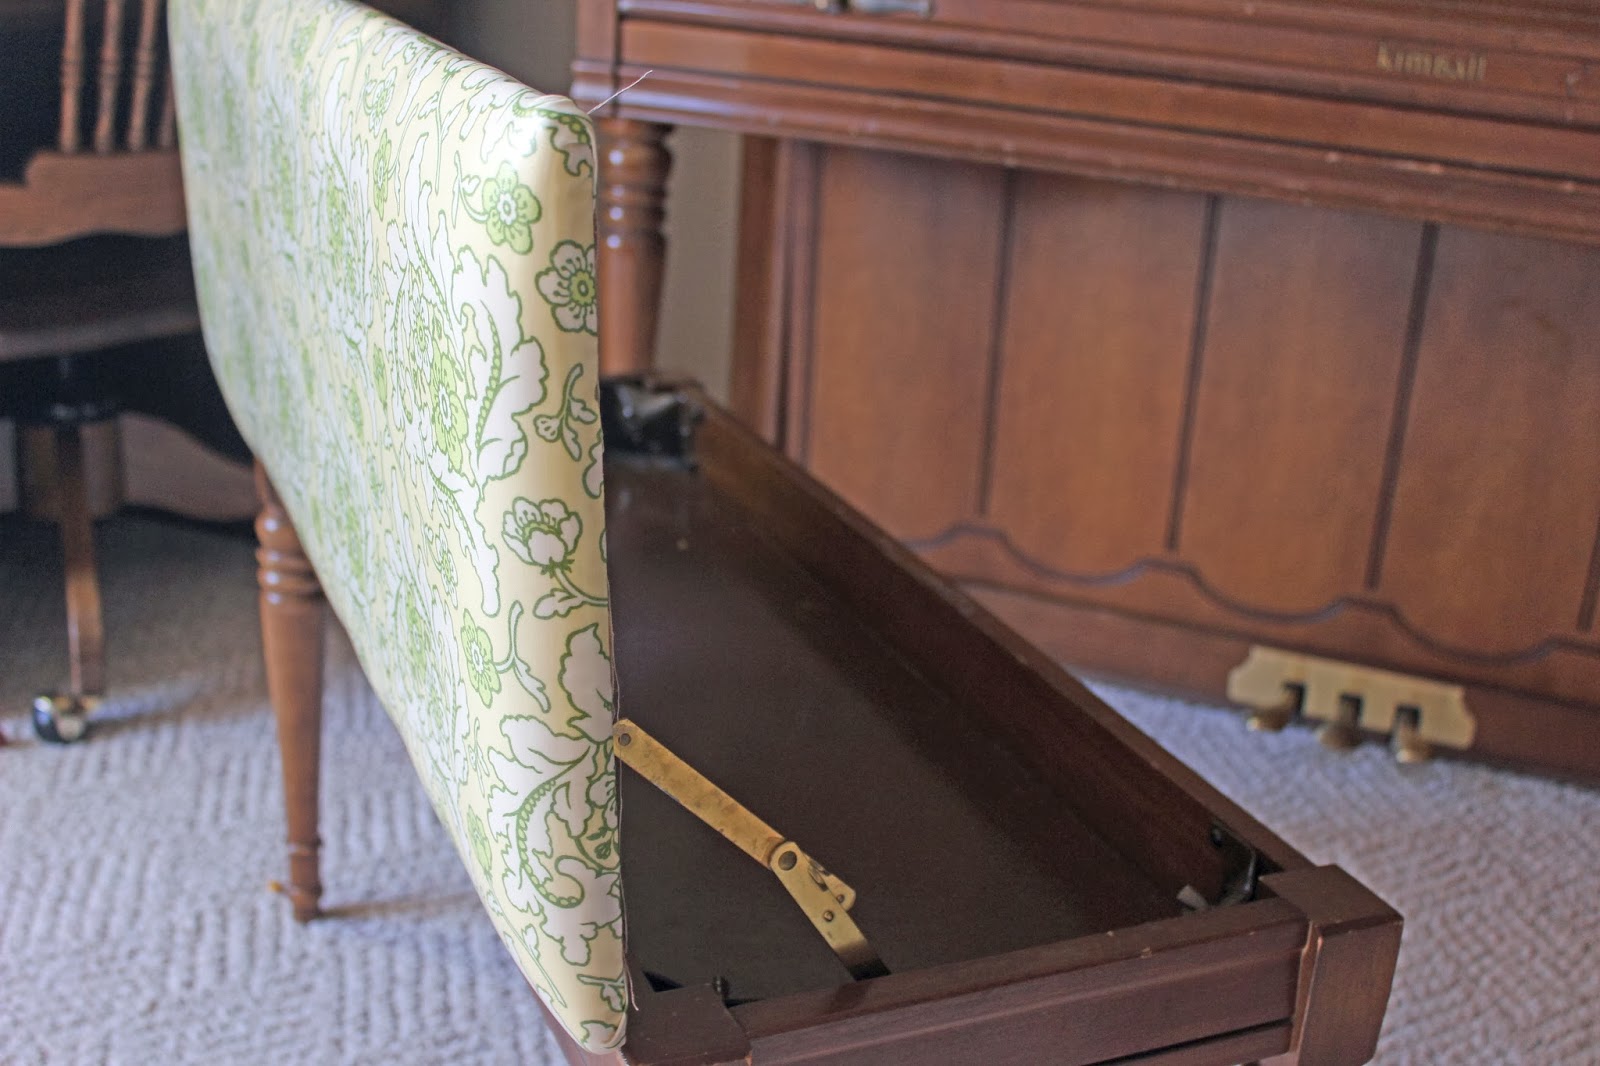
Better late than never, right?  Anyway, about 3 weeks ago we lucked out and got a free piano off Craig's List!  Yay!  Free!  It's in pretty good shape in general, but the bench....  It had to go.  Gold-ish velveteen is elegant and all, but after 60 years or so of use, this had seen better days.


Thankfully, I recently recovered the dining room chairs (also an awesome Craig's List find with horrible upholstery) and had a good deal of cute laminated cotton left over.  This stuff is great for kids, since it is light and easy to work with, but durable and easy to clean.  


The Material is called Freshcut, by Heather Bailey for Free Spirit.  I love the traditional feel with the modern update.  I got it from an on-line store called Just Laminates.com.  They seriously have the cutest stuff and have added much more since I went shopping.  

The first step was getting the old stuff off.  Since it was all stapled down I started prying with the needle nose pliers.   


Turns out, it is much easier to just pull the binding off or to use a screwdriver to pry the little staples up, then tug them out with the pliers. 


It didn't take very long, but you do have to be careful of those little buggers once they are out.  Nothing liked kneeling down on a staple!


Once I had the material off, I realize that the board was in a lot worse shape than I thought.  MFD doesn't seem to hold up that well after 60 year, so off I went (and by I, I mean my husband) to the wood store for a new board with the same measurements...


Upon his return, I got back to work with the spray adhesive and foam.  The foam I got at Fred Meyer the Northwest version of Walmart.  I bought it too for another project and I think it was meant for cushions or something.  At $3.99 for a 4' x 3' piece, it is much cheaper than buying foam from JoAnn's, so check around before you buy.


Once I glued the wood to the foam I trimmed it up and laid it upside down on top of my fabric.  I trimmed the fabric up to leaving about 3 inches or so on all sides.


Then it was time to start stapling away!  I started in the middle with one staple


Then, I pulled the other side tight and stapled and finally, stapled each end.


Once each side was secured, I moved outward from the middle to each end, stretching and stapling more as I went.  I ended up with staples every two inches or so all the way to the corners.


At the corners, I pulled the extra material down tightly to make a nice edge and loaded it down with staples to hold it in place. 


It really helped to have a little tack hammer around to pound down the stray staples that didn't go all the way in and to make sure everything was secure.  Then I trimmed off the excess and was ready for the bottom cover.


Since this is a piano bench that will be opening and closing and used by little hands, I thought it would be a good idea to cover the exposed wood.  I just cut a bit of scrap material I had lying around and stapled it over with the edges overlapping the laminate.


Finally, I found some thin trim to bind the edges.


I think this step really finishes the bench and adds a polished professional feel to the whole project.  Well worth the $2.16 I spent on the roll of trim!

All in all, I spent about $7.16 on the project, not including the materials I already had.  That's just $5 for the wood and $2.16 for the trim.  Even if you count the foam, it was only $3.99 more!  Score.  The fabric is the real expense of a job like this, but even with the laminate at $15-$16 a yard, it's not that bad for the impact that it makes on the room and for the comfort of removing the ick-factor from the old cushion.


Now our FREE piano has a modern update, and we all couldn't be happier!

Monday, January 13, 2014

Sewing up Christmas: Roundup

The Holidays are long gone around here, but I still wanted to share a round-up of my Christmas sewing with you all.  While this project was time consuming and, at times, a bit of pressure, it was loads of fun.  There is something so gratifying about sewing special outfits for my little ones.  Especially, when a special picture memorializes them for years to come.  


I made five pieces total:


 The Coastal Cargos and Vintage V-neck for Ryan.


 Skinny Jeans and the Ethan Shirt for Conor.


And the Sally Dress for Lizzie.  

And here they are all together...


In general, I am very happy with the palette and the way everything turned out.  Really, the only thing I would change in retrospect is the color of the Vintage V-neck.  When with the other pieces, I feel like the dark green overwhelms the lighter aqua tops and distracts a bit from the "collection" as a whole.  It's funny because I feel like in some ways this shirt is actually the most "Christmassy" garment I made, but en-total I'm not sure if it works.

All-in-all, Sewing up Christmas was a great challenge and great fun!  Santa seemed to like it :)  Look for it again next year...

Tuesday, January 7, 2014

Sewing up Christmas: The Sally Dress

So, finally here it is!  The Sally Dress Christmas style.  It was a rocky road getting to this post, which I intended to post much closer to Christmas, but once I got through the big day our computer crashed and I have had to spend a few more days coming up with a solution.  Sorry :)


The Sally Dress is a fun and easy pattern from Very Shannon.  You may have seen that I made a practice version of this dress a while back, which is why I left it for last.  The practice version was very easy to sew up and even taught me some great new techniques - particularly a much easier and less frustrating was to sew a lined bodice and a skirt together. 


But, not one to leave well enough alone, I decided to modify the dress a little for this version.  First of all, I made it out of velveteen. 


While I love the look of this gorgeous aqua velveteen (from the Doodles collection at JoAnn's), I'm not sure if I would use it again.  I didn't really think too much about how different materials affected construction prior to using this fabric.  I mean sure, knit vs. woven, but this was thicker than I have used before and had a strange way of shifting when the little velvet nap was squished down by the machine stitching it together.


It liked to work it's way out of alignment (as you can see below), so I had to be careful.  And I ended up sewing some parts together more than once...

 
Secondly, I decided to add an invisible zipper!  This was interesting to say the least. 


Actually, the invisible zipper was fairly easy and turned out fine.  If it wasn't for the above mentioned thick fabric, it would have been a snap, but I ran into a few problems where the fabric was folded over a couple times.  I think I will use more of these in the future.


To add the zipper I took the regular bodice pattern piece (which is the same for the front and back) cut a regular front bodice and lining piece on the fold, then added a 1/2 inch seam allowance and an additional 3/8 inch allowance to attach the zipper and cut two back bodice and lining pieces not on the fold. 


Everything fit together quite nicely (I am very proud of my math) and the zipper definitely made it easier to get the dress on and off my little peach.


As for the sewing, the seams, pockets and hems were quite difficult to sew owing to the overall thickness of the material layers in these folded over places.  I ended up actually putting in a leather needle to make it through all the layers.  The leather needle was awesome and made it so much easier! 


All in all, the dress has been a big hit!  I added faux covered buttons on the front per a request from the little lady and found some amazing shoes that matched exactly at a consignment store - what are the chances of that?! 


Once I found the shoes, I had to whip up a little headband too!  I do just love the velveteen despite what a bear it was to sew with.  You may see something else with it soon now that I have my leather needle trick :)


Happy New Year!!