Better late than never, right? Anyway, about 3 weeks ago we lucked out and got a free piano off Craig's List! Yay! Free! It's in pretty good shape in general, but the bench.... It had to go. Gold-ish velveteen is elegant and all, but after 60 years or so of use, this had seen better days.


Thankfully, I recently recovered the dining room chairs (also an awesome Craig's List find with horrible upholstery) and had a good deal of cute laminated cotton left over. This stuff is great for kids, since it is light and easy to work with, but durable and easy to clean.

The Material is called Freshcut, by Heather Bailey for Free Spirit. I love the traditional feel with the modern update. I got it from an on-line store called Just Laminates.com. They seriously have the cutest stuff and have added much more since I went shopping.
The first step was getting the old stuff off. Since it was all stapled down I started prying with the needle nose pliers.

Turns out, it is much easier to just pull the binding off or to use a screwdriver to pry the little staples up, then tug them out with the pliers.


It didn't take very long, but you do have to be careful of those little buggers once they are out. Nothing liked kneeling down on a staple!

Once I had the material off, I realize that the board was in a lot worse shape than I thought. MFD doesn't seem to hold up that well after 60 year, so off I went (and by I, I mean my husband) to the wood store for a new board with the same measurements...


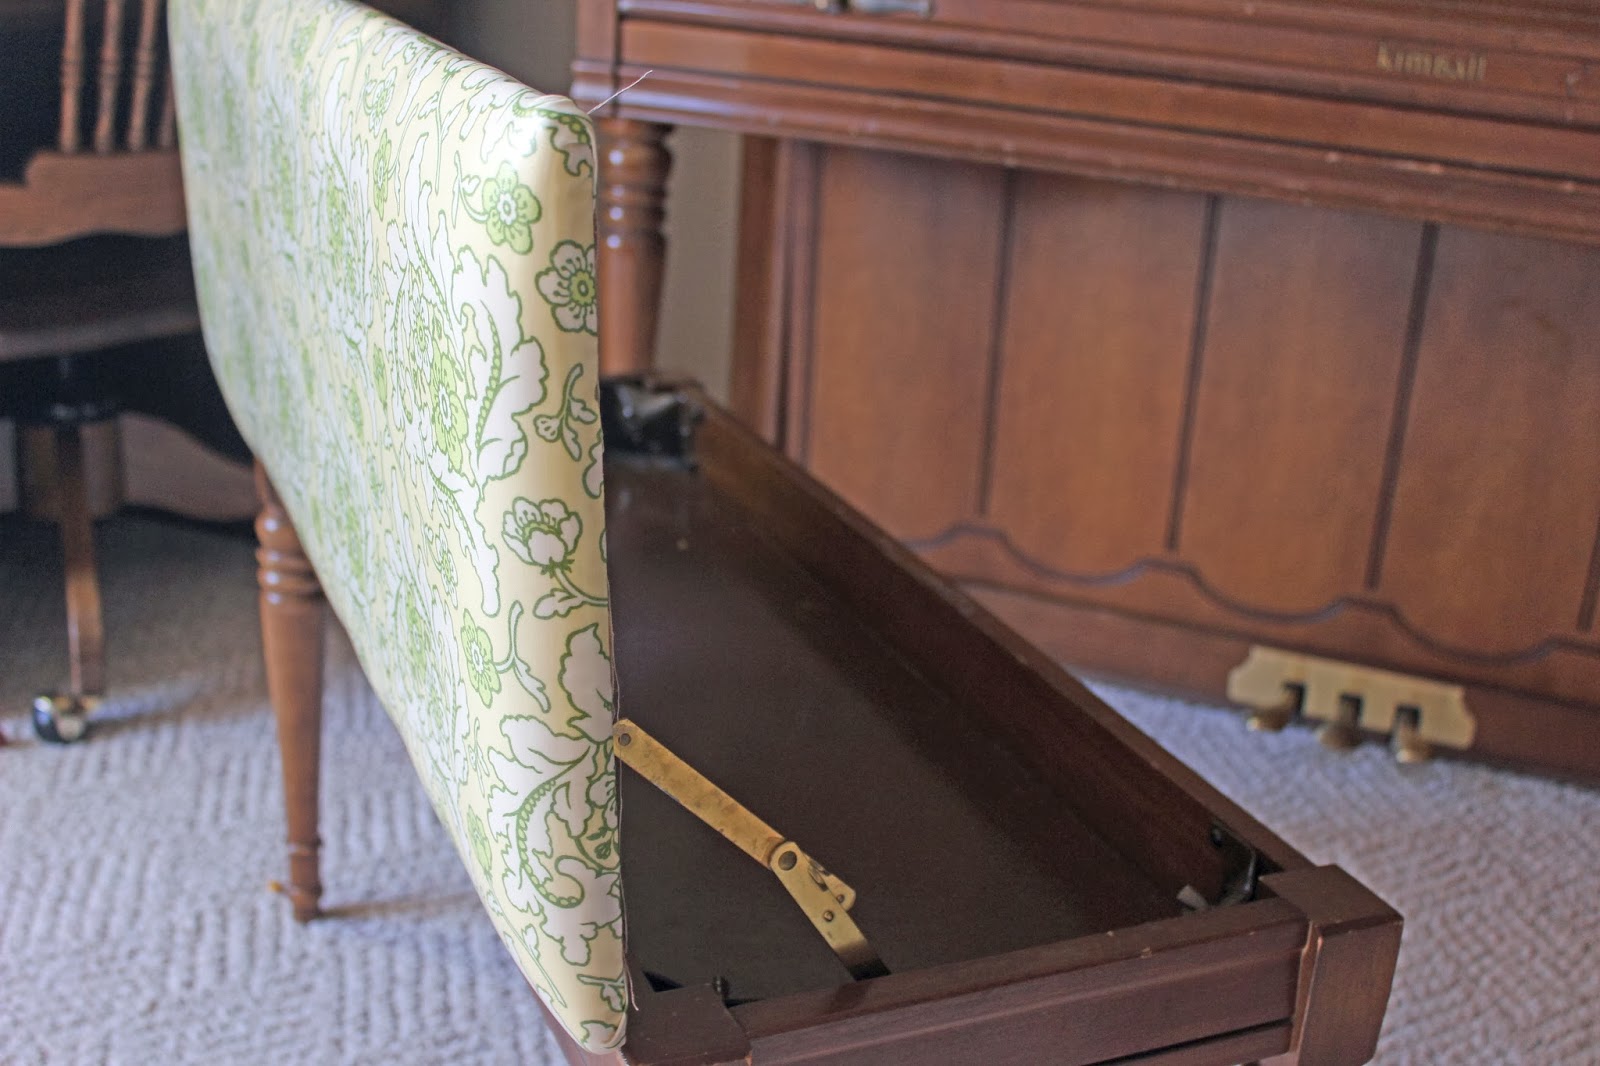
Once I glued the wood to the foam I trimmed it up and laid it upside down on top of my fabric. I trimmed the fabric up to leaving about 3 inches or so on all sides.

Then it was time to start stapling away! I started in the middle with one staple

Then, I pulled the other side tight and stapled and finally, stapled each end.

Once each side was secured, I moved outward from the middle to each end, stretching and stapling more as I went. I ended up with staples every two inches or so all the way to the corners.

At the corners, I pulled the extra material down tightly to make a nice edge and loaded it down with staples to hold it in place.


Since this is a piano bench that will be opening and closing and used by little hands, I thought it would be a good idea to cover the exposed wood. I just cut a bit of scrap material I had lying around and stapled it over with the edges overlapping the laminate.

Finally, I found some thin trim to bind the edges.


I think this step really finishes the bench and adds a polished professional feel to the whole project. Well worth the $2.16 I spent on the roll of trim!
All in all, I spent about $7.16 on the project, not including the materials I already had. That's just $5 for the wood and $2.16 for the trim. Even if you count the foam, it was only $3.99 more! Score. The fabric is the real expense of a job like this, but even with the laminate at $15-$16 a yard, it's not that bad for the impact that it makes on the room and for the comfort of removing the ick-factor from the old cushion.

Now our FREE piano has a modern update, and we all couldn't be happier!
No comments:
Post a Comment